Advanced Coordination
Builds on Basic Coordination with heavier tempo and finer control demands.
Why recruiters care about it
This module measures whether you can keep the same control stability once conditions become harder.
Inside Compass, it is one of the main modules for showing motor quality under higher load.
Step-by-step simulation flow
A four-task cockpit
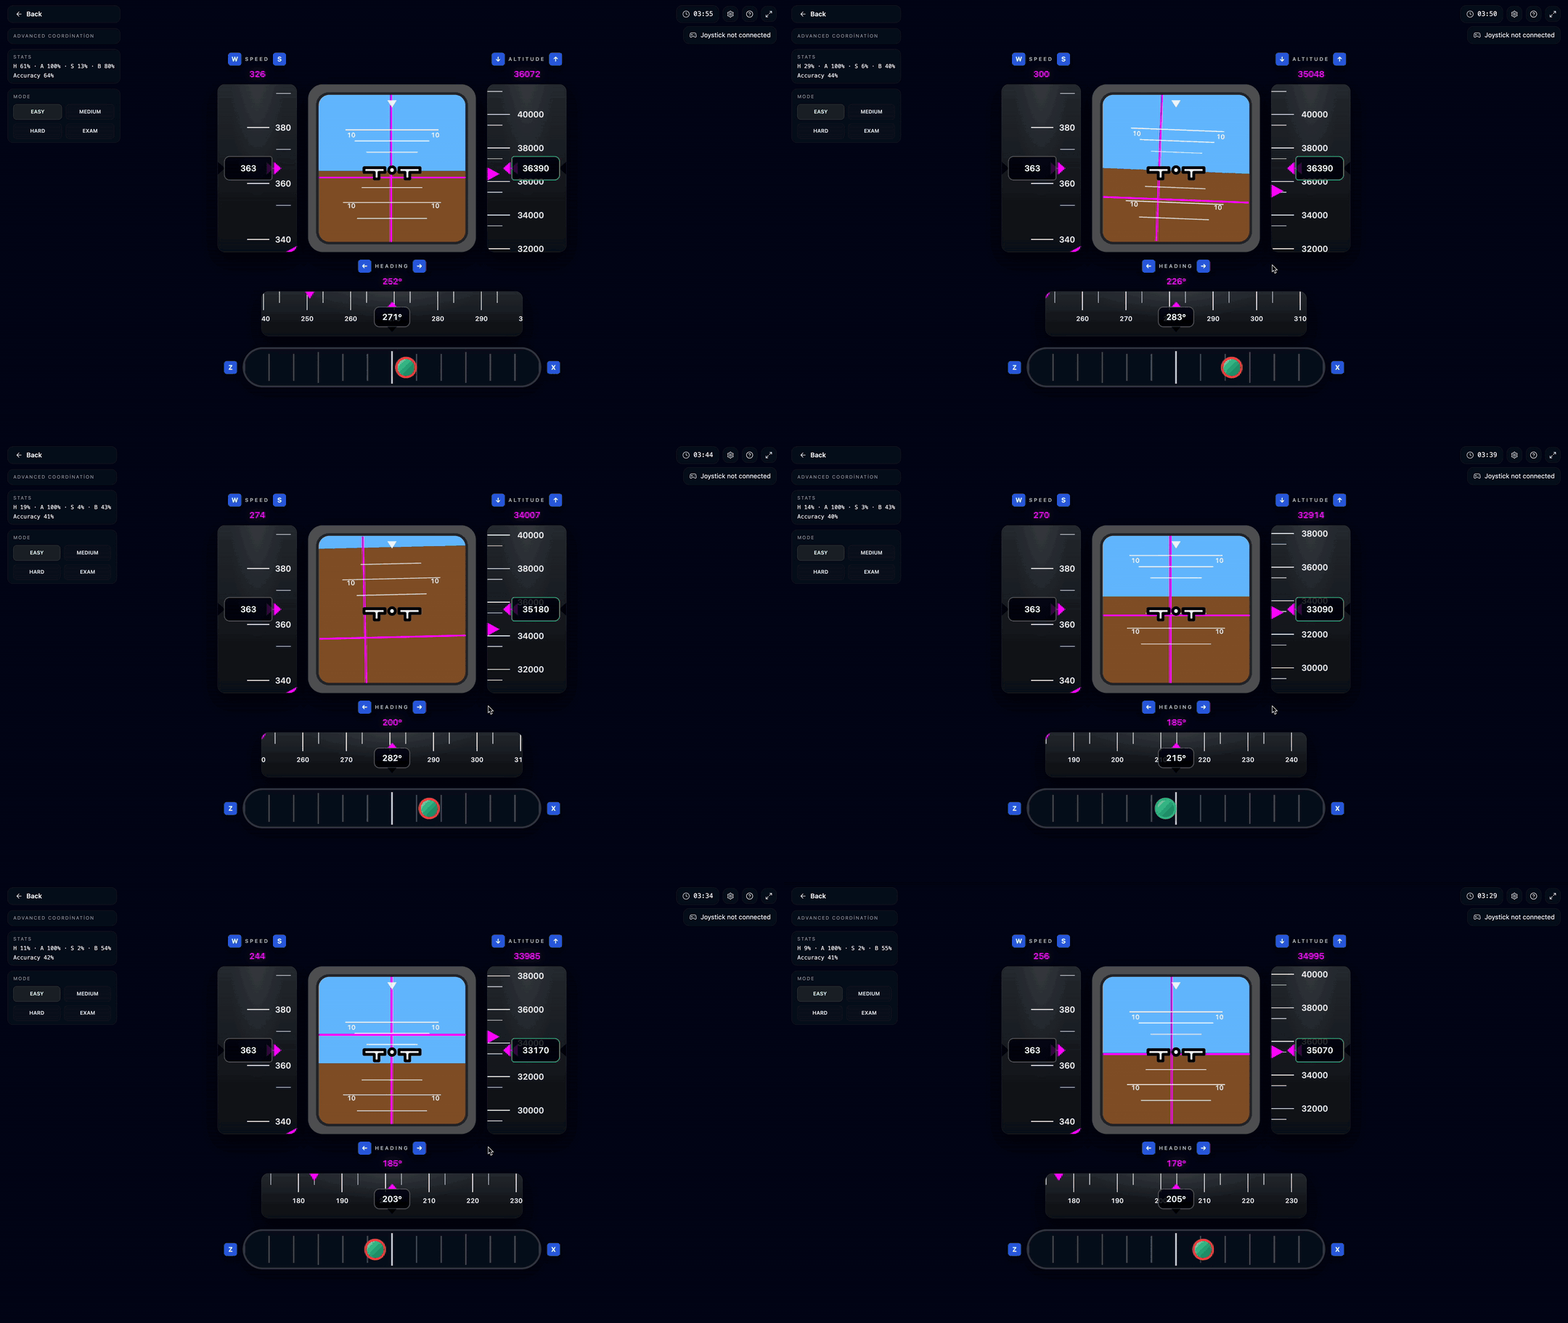
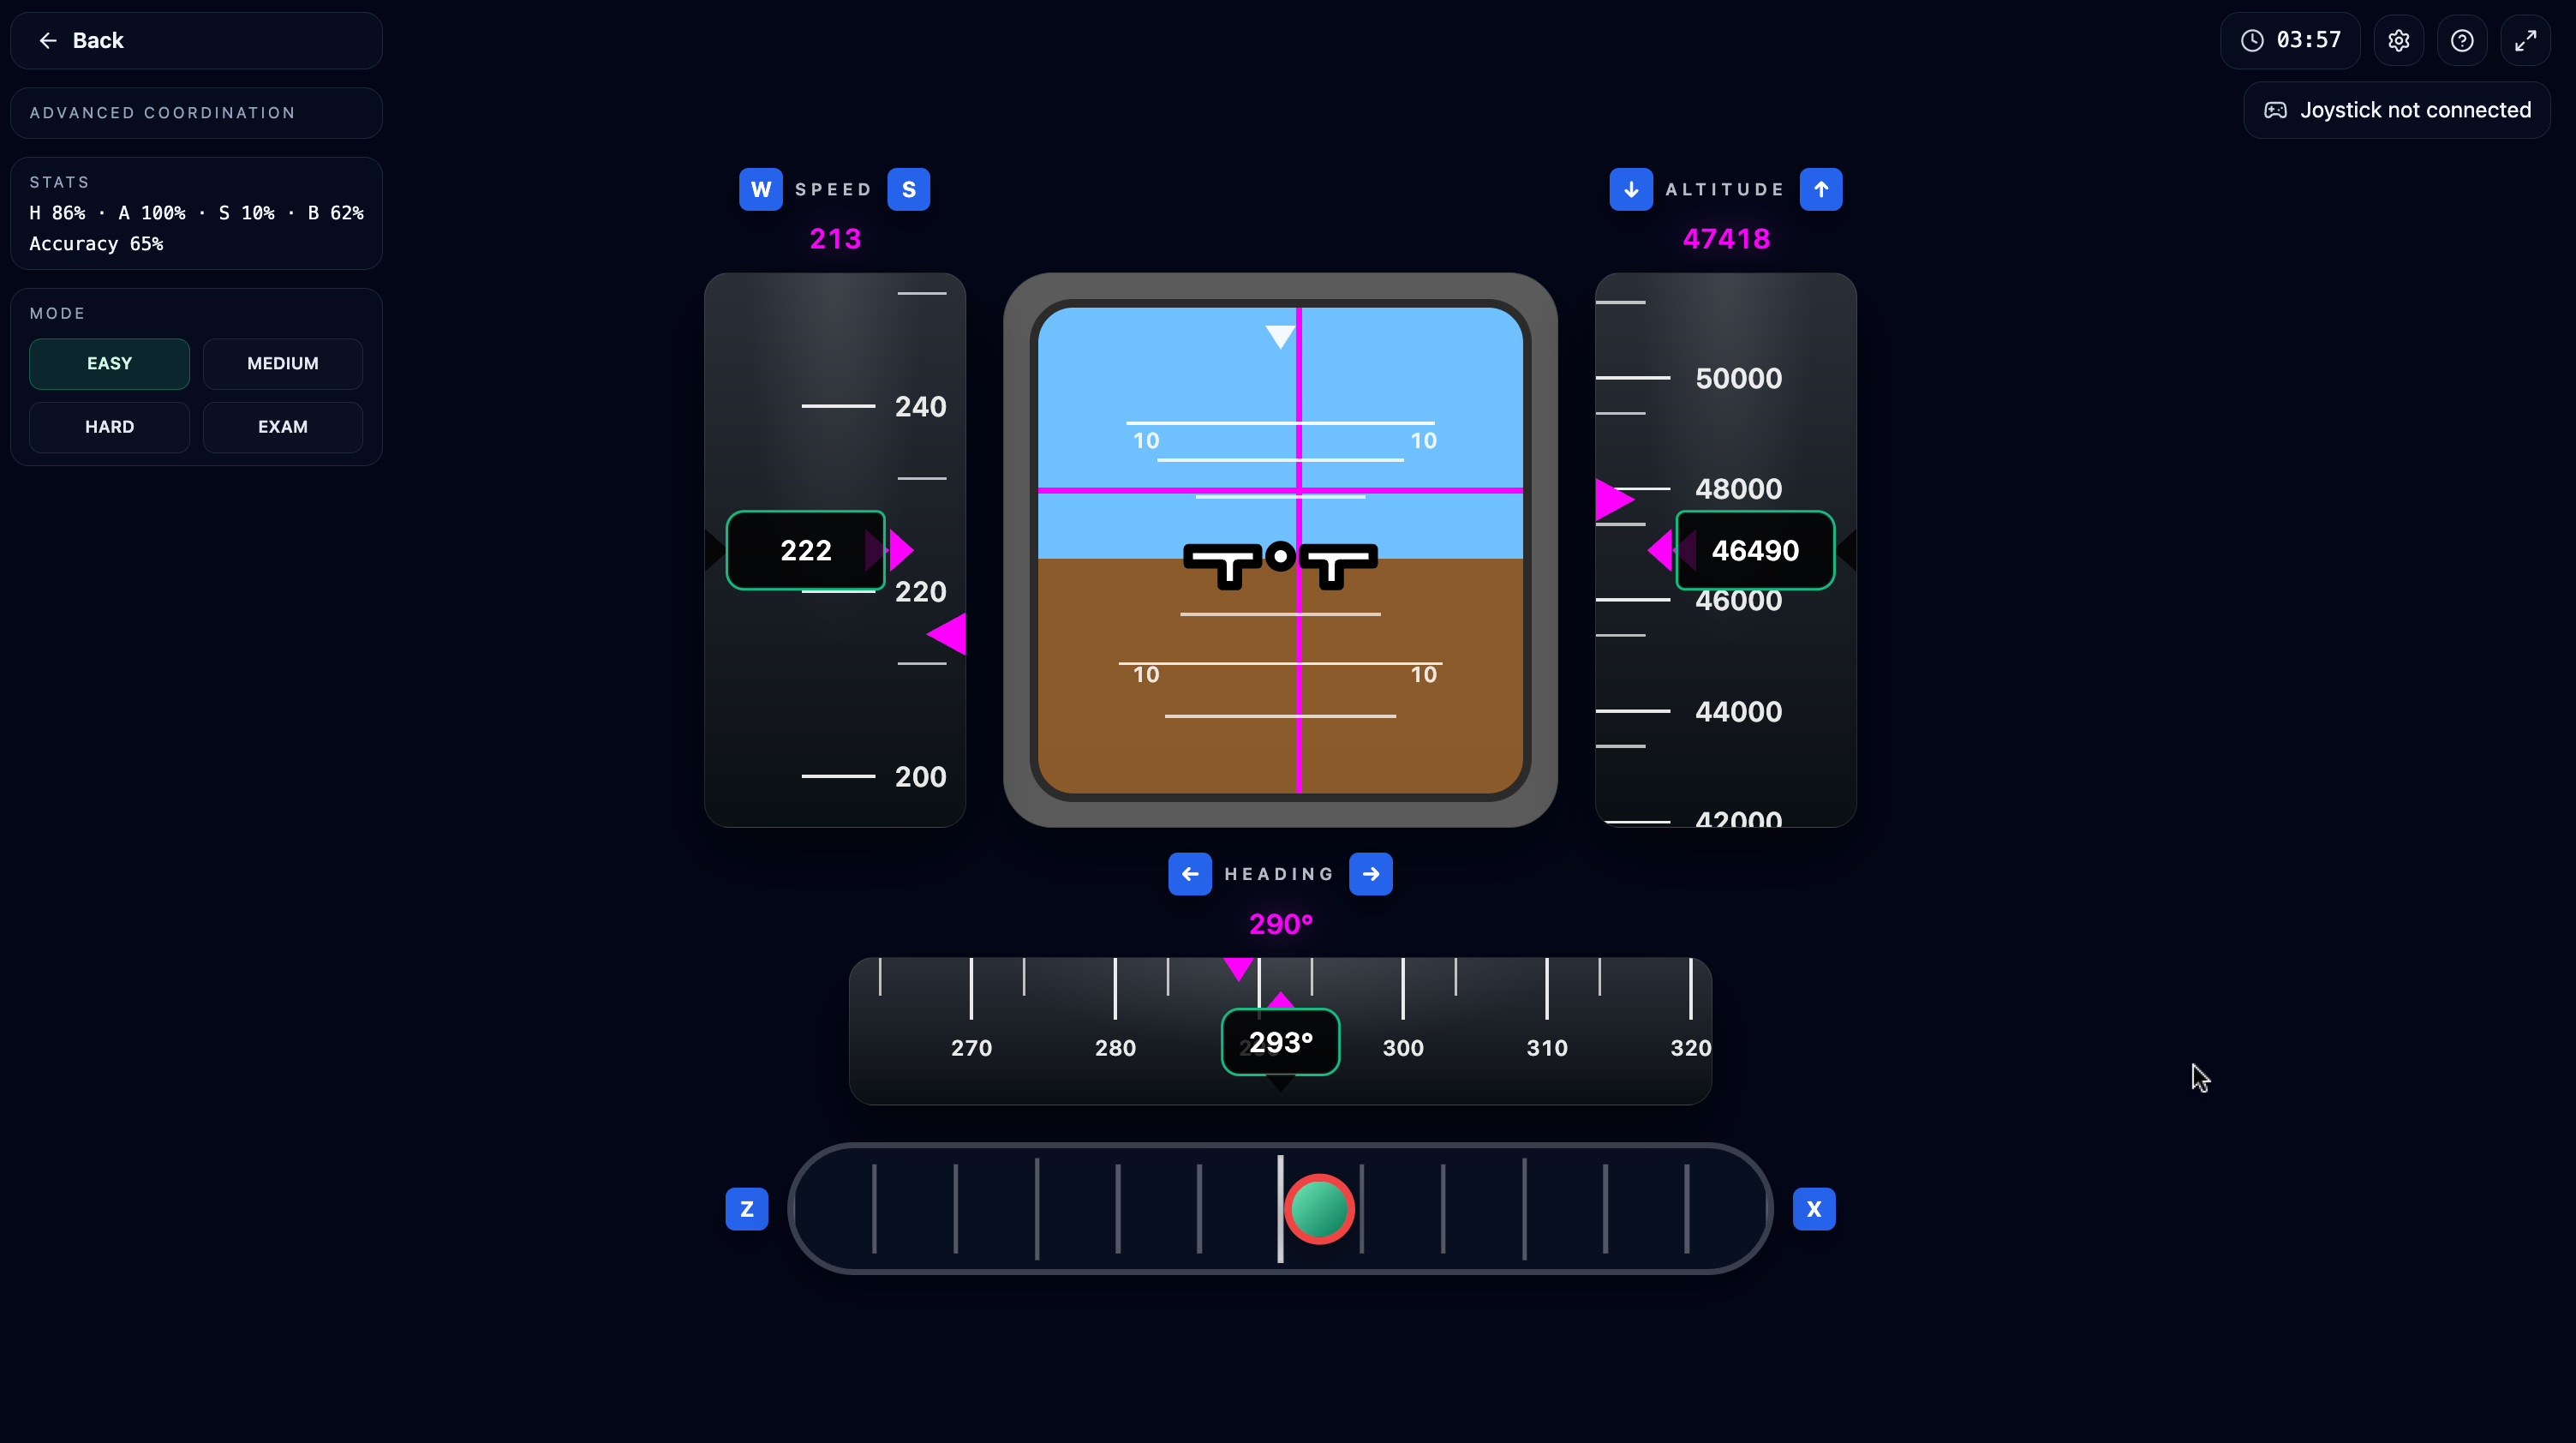
The screen holds a full instrument set: the Speed tape on the left, an attitude indicator with flight-director lines in the centre, the Altitude tape on the right, the Heading tape below, and a centre-lined ball rail at the bottom. You track four targets at once.
The controls
Heading is flown with ← / → (via bank), Altitude with ↓ / ↑ (via pitch), Speed with W / S, and the ball with Z / X; a joystick is supported too. Target values are drawn in magenta and drift on their own.
Stay inside the tolerances
Each task has a tolerance: heading ±10°, altitude ±200 ft (or 10% of target), speed ±5 units, and the ball's centre zone. In-tolerance readouts glow emerald; wind and turbulence keep pushing you out.
Scoring
Every 100 milliseconds the number of in-tolerance tasks is counted with partial credit: 4/4 tasks score full, 2/4 scores half. The score is that average over the run; a run lasts 4 minutes, and Mock Exam ramps Warm-up→Standard→Advanced across 5.
How difficulty scales
Difficulty works as a multiplier: on Advanced the target drifts, wind and turbulence are 20% stronger, and the ball drifts harder and more often. Wind arrives as gusts — it can slam in mid-way through a calm stretch.
Because scoring gives partial credit, the strategy is clear: never abandon a task. Fix the largest deviation first, then return to a steady scan (Heading → Altitude → Speed → Ball). Locking onto one instrument bleeds the other three simultaneously.